LinnDAR
Contents
LinnDAR — User Guide
LinnDAR is an iOS application that allows you to scan your listening room with an iPhone or iPad with a LiDAR sensor. This allows the camera to quickly and accurately model the room shape, dimensions, and features for use with Linn Space Optimisation.
Hardware support
You need a LiDAR-capable iOS device. The app checks for this at launch and won't let you scan without it. LiDAR is available on:
- iPhone: 12 Pro / 12 Pro Max and every Pro / Pro Max model since
- iPad Pro: 11-inch and 12.9-inch, 2020 (4th generation) and later
Download
Only available from Apple App store

Before you scan — getting a good result
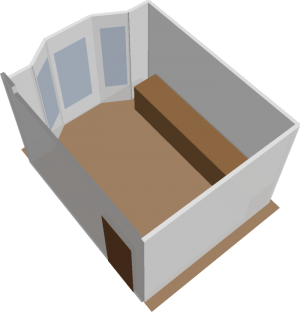
A few minutes of setup makes a big difference to the finished model:
- Light the room evenly. LiDAR itself works in the dark, but the app also uses the camera image to place walls and objects precisely, and that requires enough even light — avoid strong backlight from a single bright window, and turn on room lighting if it's dim.
- Clear obvious obstructions. Curtains, tall furniture pushed against a wall, or stacked boxes can block the sensor's view of the wall behind them and get scanned in place of it.
- Stand back from the walls. Keep roughly an arm's length or more between you and the wall you're scanning — LiDAR requires some distance to resolve a surface accurately, and getting too close produces noisy, uneven readings.
- Move slowly and steadily: Follow the onscreen instructions and walk the perimeter of the room at a normal walking pace or slower, keeping the camera pointed at the walls, floor, and ceiling as you go rather than swinging it quickly between them.
Accuracy — what to expect
RoomPlan's LiDAR scanning is generally accurate to within a few centimetres for wall positions, room dimensions, and door/window openings under good scanning conditions (as described above). This accuracy level is appropriate for Space Optimisation calculations which splits the room into an 8 cm grid.
Scanning a room, step by step
Start the scan
Sign in with the Linn Account you'll be using to calculate and apply Space Optimisations.
From the app's home screen, choose Scan New Room and tap Start Scan.
Walk the room
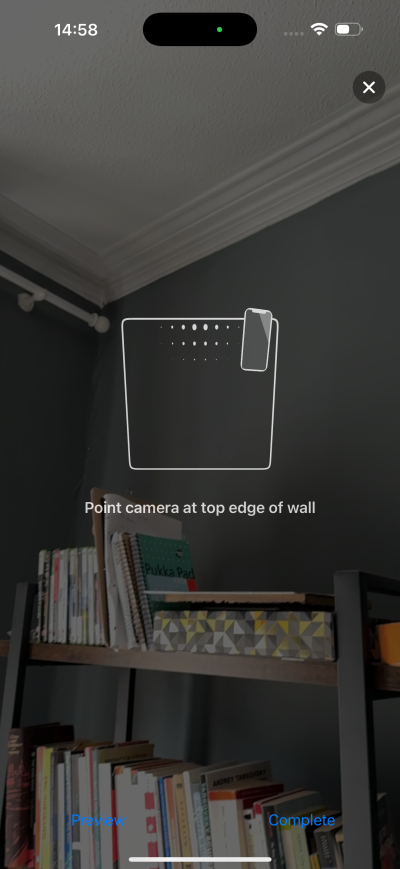
| Slowly walk around the room, guiding the camera so it sees the entire surface of every wall in the room.
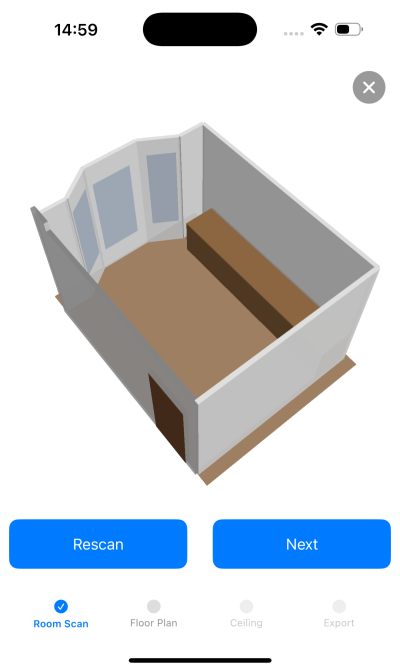
Tap Preview at any point to check what's been modelled so far, and keep scanning until every wall, doorway, and window looks correct. |
 |
 |
Only scan the room you're modelling — don't scan into adjoining rooms, hallways, or landings. If a doorway has no door in it (an open archway, a pass-through to a hallway, a wide opening between a kitchen and a living area), just scan across the opening as part of the wall — the app records it as an opening feature, not as a door. There's no need to continue scanning beyond it into the next space; that space should be scanned as its own separate room |
Scan floor features
- As you scan, RoomPlan also detects objects and furniture in the room. You don't need to do anything differently for this — it happens automatically as you cover the room. Be aware that:
- Only a small set of fixed, structural floor features — fireplaces, staircases, and built-in storage — are kept and carried into the exported model. Everything else RoomPlan detects (sofas, tables, chairs, and other loose furniture) is automatically discarded, since it isn't part of the room's fixed structure.
- Not every kept feature is necessarily one you want in the final model. Some, like an open storage unit or shelving, are acoustically transparent — they don't meaningfully affect how sound behaves in the room — and can be removed from the model afterwards. This isn't done automatically, since the app can't tell an open shelving unit from a solid storage cupboard; remove those manually once the room is in Manage Systems (see below).
Set the Front Wall
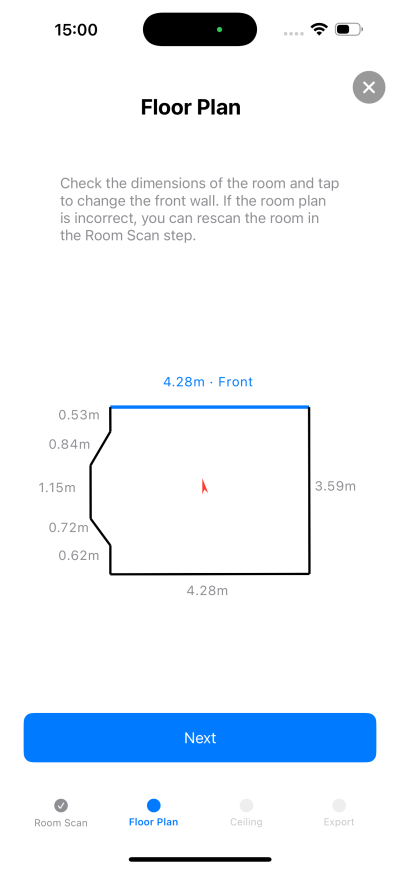
|
Check the floor dimensions and set the front wall of the room. The direction indicator will highlight where the phone camera is pointing to guide the direction of the floor plan. If the scan fails to correctly model the floor plan, simply rescan the room (or make later edits in Manage Systems). |
 |
Set Ceiling Height
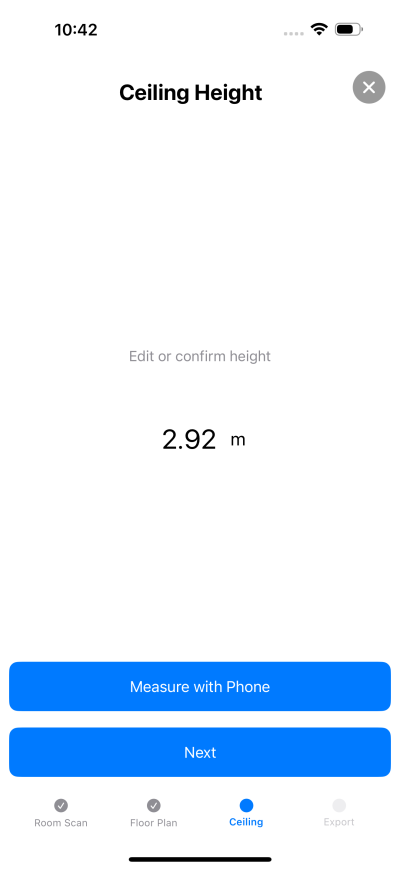 |
Check the assumed ceiling height from the scan. If this isn't correct, manually measure the ceiling height using the Measure with Phone option. Currently, only flat ceiling modelling is supported. If your ceiling is not flat, either approximate the average height of the ceiling or create the variable height ceiling in Manage Systems after the room is exported. |
Export
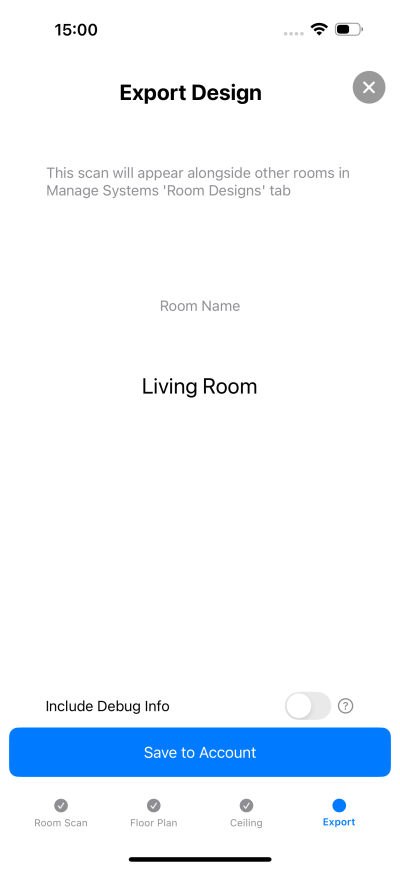
Review the finished model, give the room a name, and export it. The app uploads it to your Manage Systems “Room Designs” list in the same format as manually created rooms.
Editing your rooms in Manage Systems
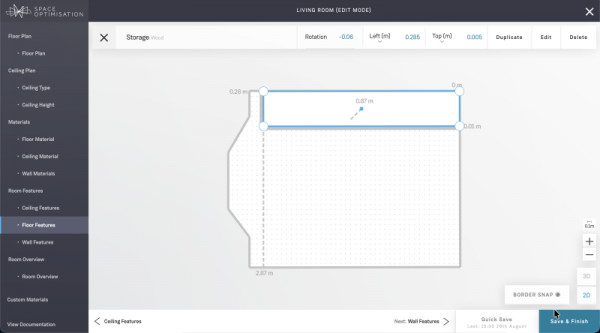
Once uploaded, your scan appears alongside your other rooms in Manage Systems, under the Room Designs tab. From there you can:
- Set the materials for the Floor, Walls, Ceiling and room features
- Remove any carried-over floor feature that shouldn't affect the design (e.g. an acoustically transparent storage units)
- Review/edit any part of the room
Virtual Tape
|
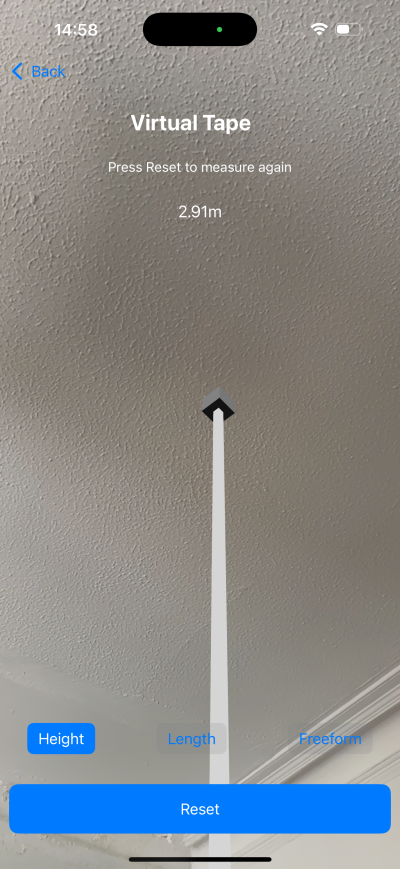
Under the "More" tab a Virtual Tape feature is available. This allows you to measure any dimensions in the room. Picking "Vertical" or "Horizontal" ties the tape to measure straight along an axis. Picking "Freeform" allows you to measure the distance between any two objects. |
 |
